Create Your First Task
Let’s build your first Rightbrain Task. In this quickstart, we’ll draft a prompt, structure your outputs and choose an appropriate model for the job.
What You’ll Build: A Task that analyses customer reviews, extracts sentiment, and validates product images - all in one API call.
Understanding Task Components
Before we start, let’s understand the four core components of every Task:
💬 Instructions - Craft clear prompts that tell the model exactly what to do and how to behave.
🧩 Dynamic Inputs - Use placeholders, such as {customer_review}, to insert real input data at runtime
📊 Structured Outputs - Define your expected fields and schema to ensure consistent, predictable responses.
🧠 Model Selection - Choose the model that best balances speed, cost, and capability for your use case.
Step 1: Set Your Prompts
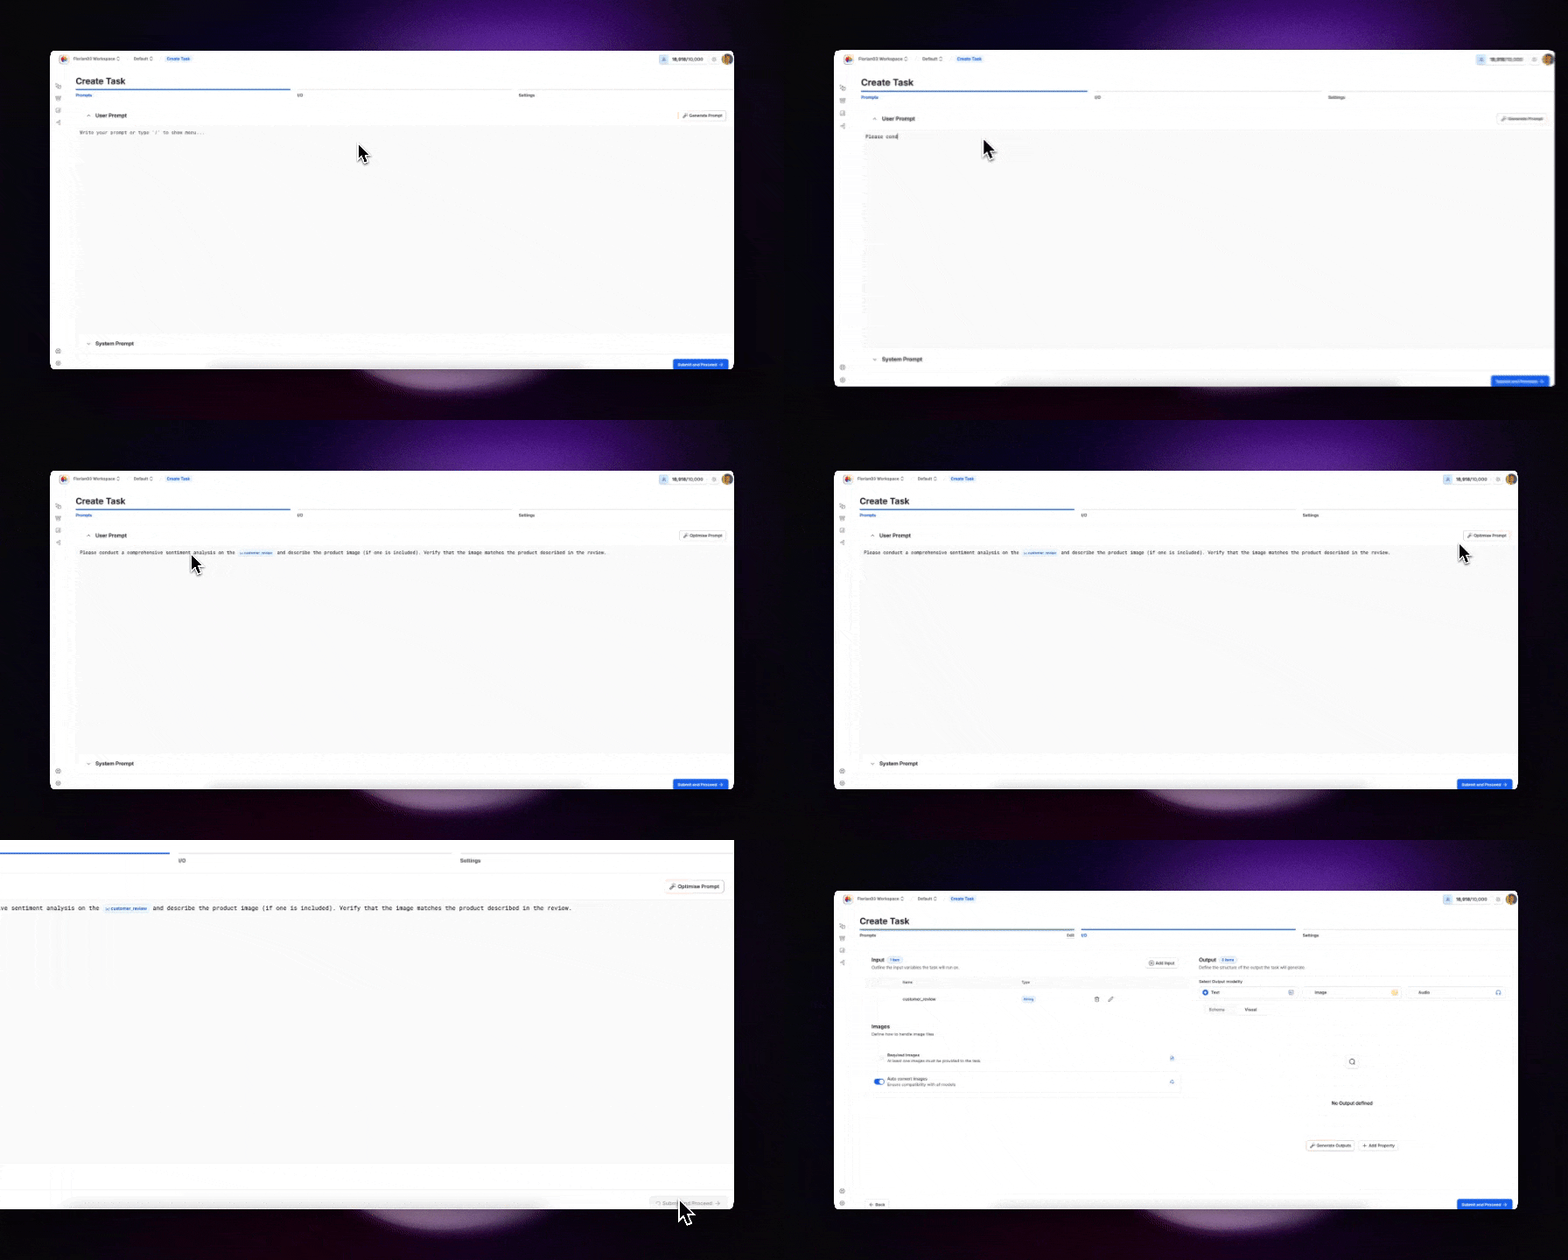
First, we’ll compose the Task instructions using the user prompt. For this demo, we’re building a sentiment analysis Task that can also verify product images.
The user prompt tells the AI what to do with the input data. Use clear, specific instructions for best results.
User Prompt
Navigate to the user prompt field and enter:

Notice the {customer_review} variable - this is a dynamic placeholder that gets replaced with actual data when the Task runs. The Task is also designed to handle optional image inputs.
System Prompt (Optional)
You can add a system prompt to define the AI’s role and behavior:
Step 2: Configure Inputs and Outputs
Now we’ll define what data goes in and what structure comes out.
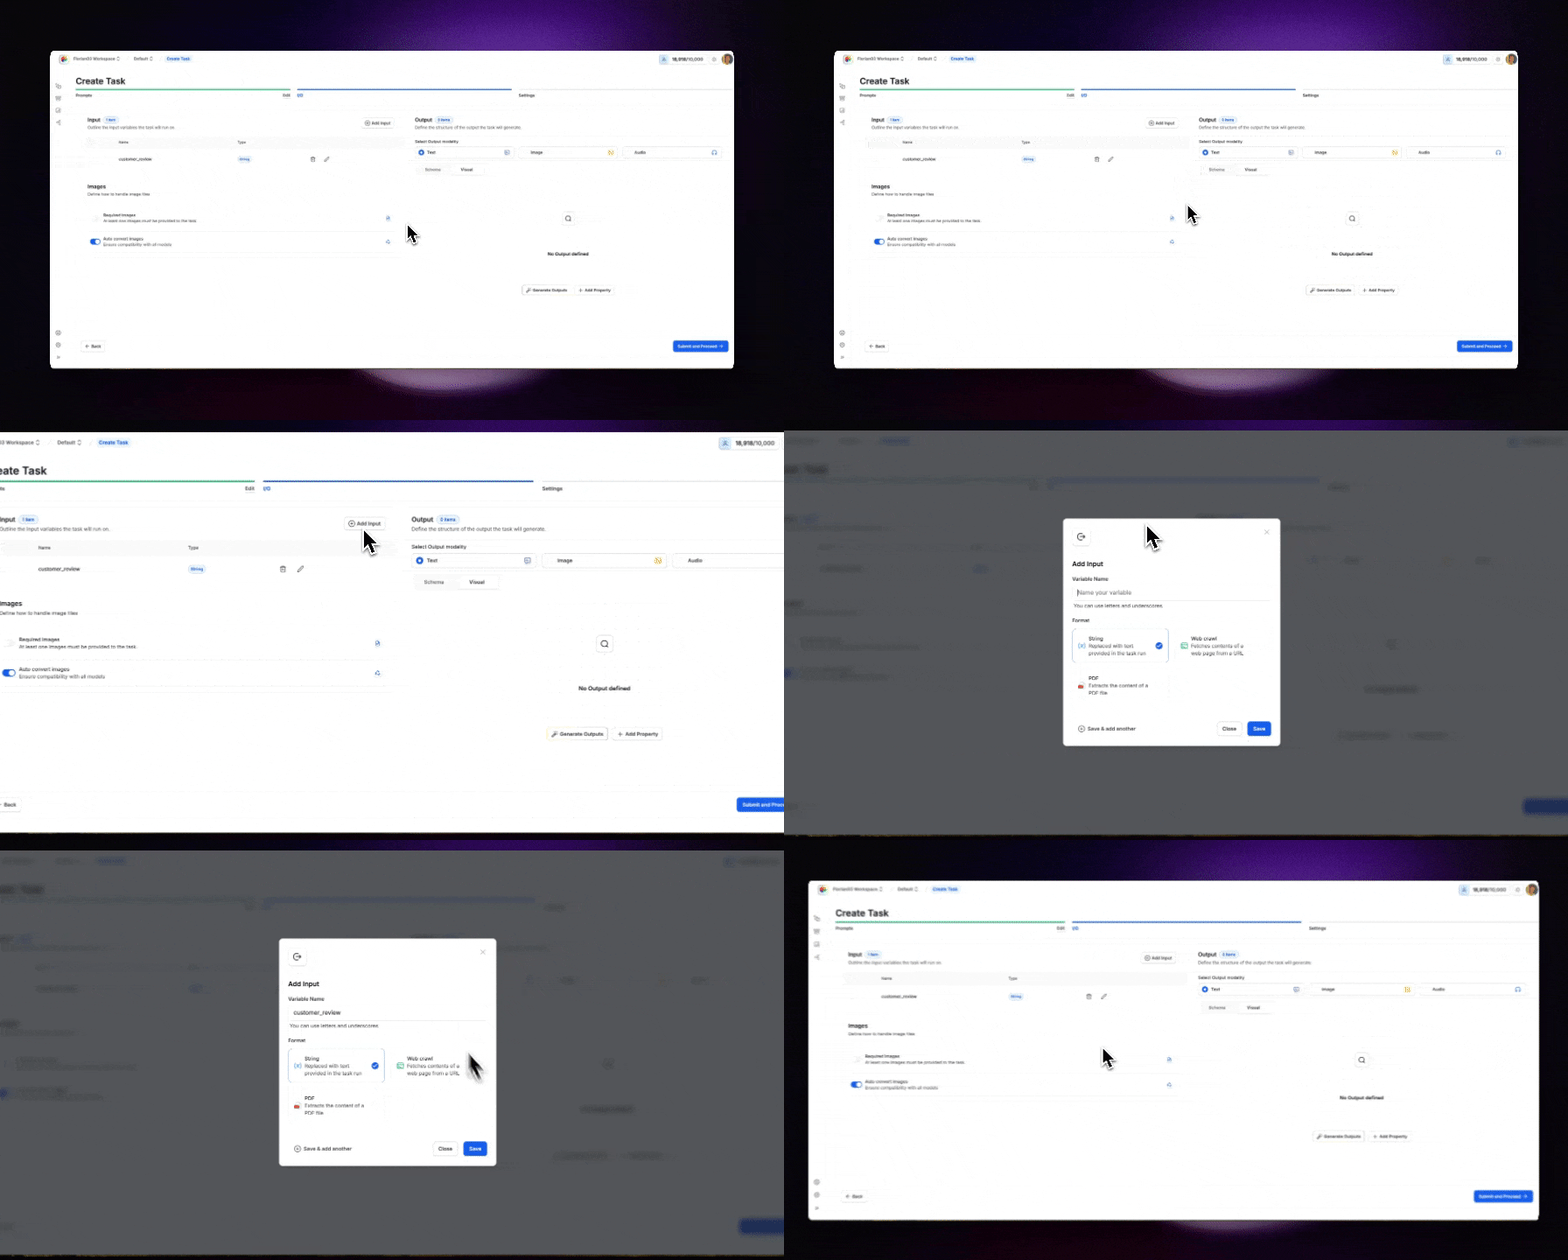
Define Input Variables
Your Task can accept:
- Text strings – simple text inputs like support tickets, reviews or any text data feed.
- Images – visual inputs such as product photos, receipts, or screenshots for multimodal analysis and verification.
- Documents – commonly Word, PDF, PPT or CSV files for data extraction, summarisation or classification.
- URLs – web addresses that the Task can fetch and analyse for content, metadata or linked resources.
- Web Search - a live search via Perplexity that returns up to the top 20 results for further analysis.
For our Task, the {customer_review} variable is automatically detected from your prompt. You can add additional inputs if needed.

Specify Output Structure
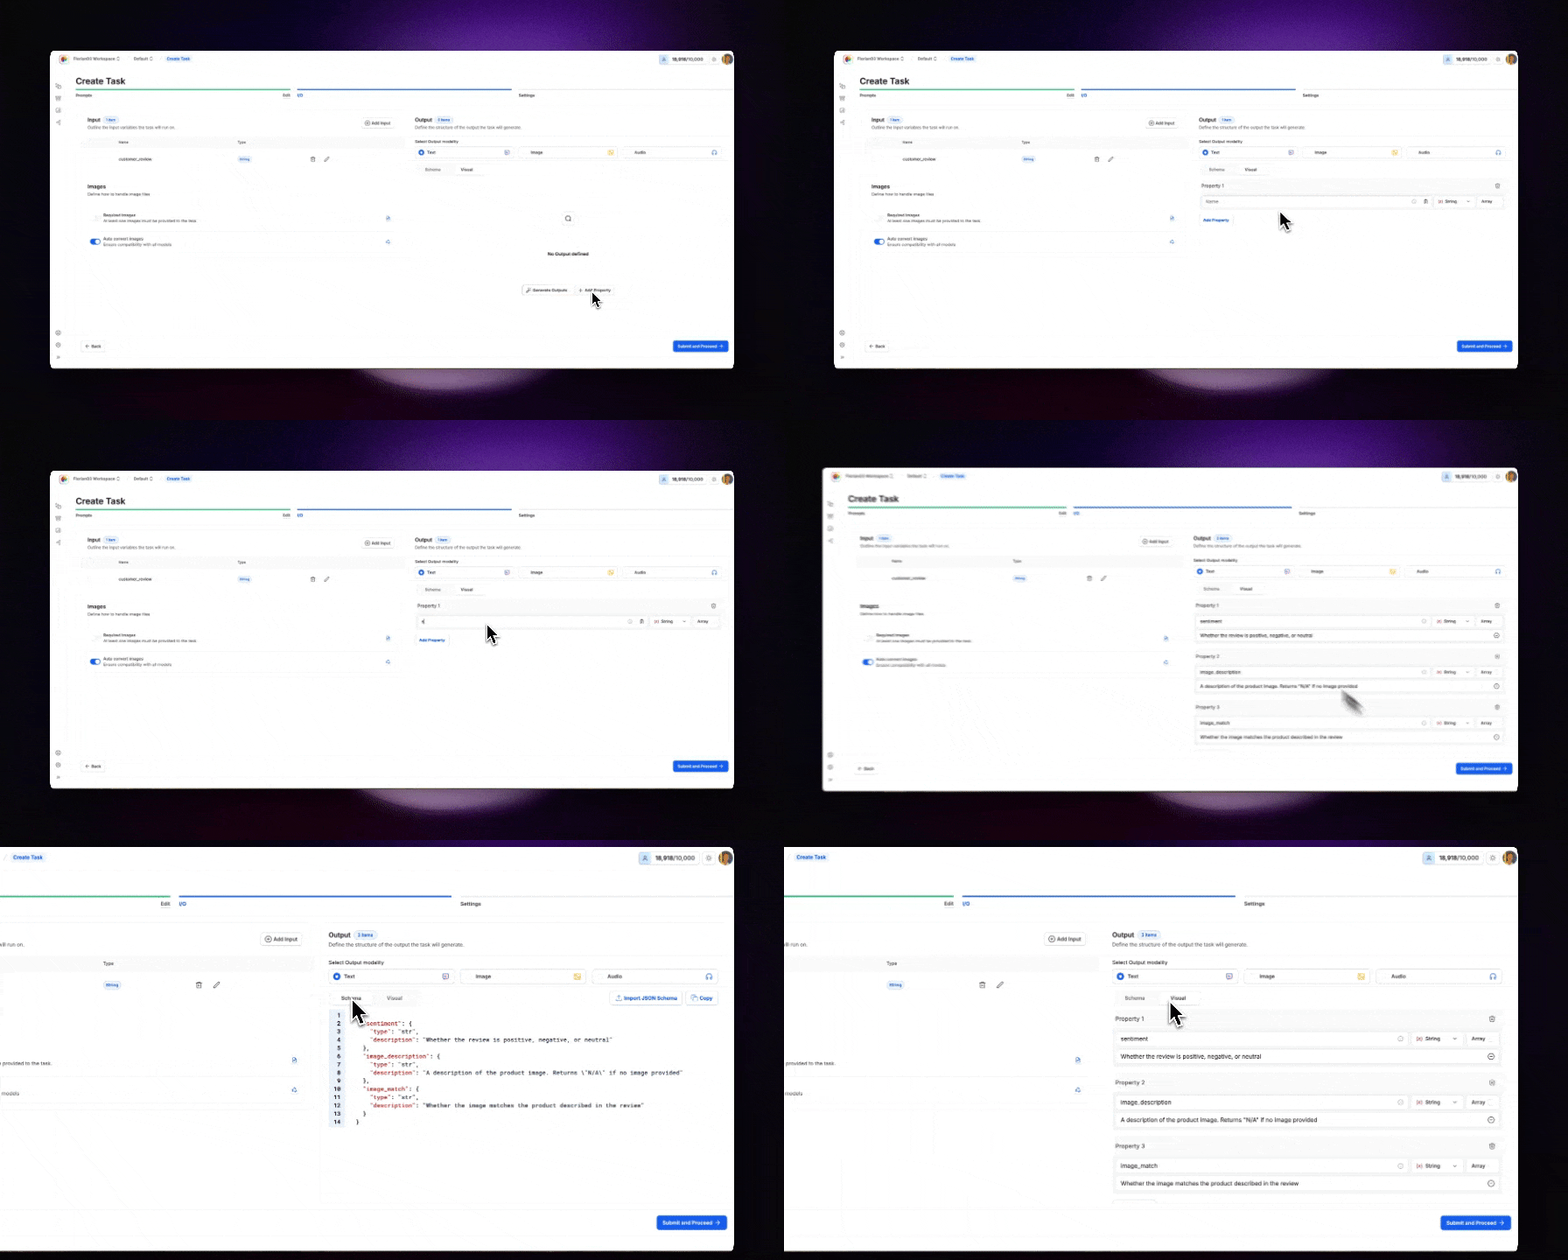
Define exactly what data structure you want back. This ensures every Task execution returns consistent, parseable results.
Add these outputs to your Task manually or by pasting the JSON schema:
Visual Editor
JSON Schema
Whether the review is positive, negative, or neutral
A description of the product image. Returns “N/A” if no image provided
Whether the image matches the product described in the review

Pro tip: Always provide clear descriptions for your outputs. This helps the model understand exactly what you expect and improves accuracy.
Step 3: Choose Model and Configure Settings
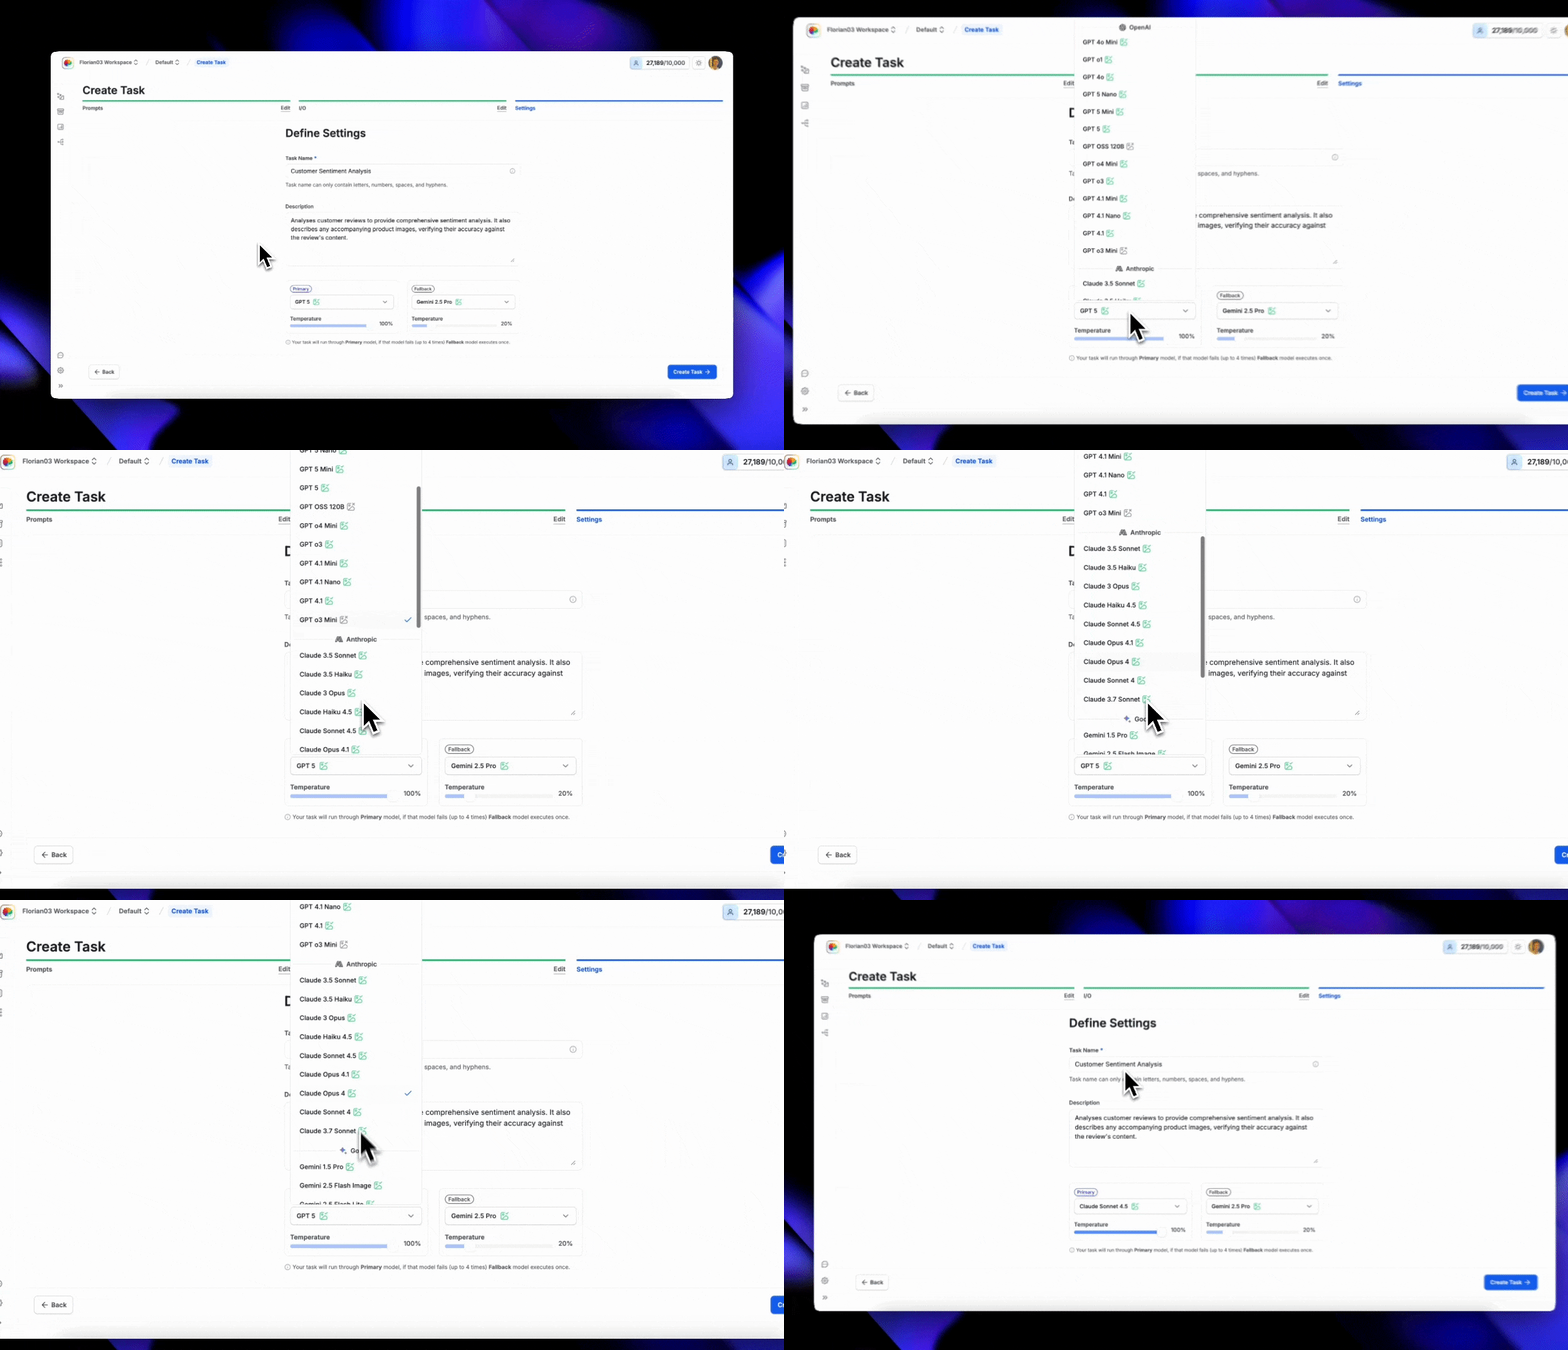
Select Your Model
Different models excel at different tasks. For our sentiment analysis with image verification, we need a vision-capable model:
Recommended
Alternatives
Claude Sonnet 4.5 🖼️
- Excellent for combined text and image analysis
- Cost-effective for production use
- Fast response times

Configure Task Settings
Temperature
Fallback Model
Set to 0.3 for consistent, focused analysis.
Lower values (0.1–0.3) produce more deterministic outputs, ideal for classification tasks.
Congratulations! You’ve created your first Task. It’s now available via the API endpoint under the Integrate tab.
